Thursday, August 19, 2010

They may not cover my windows, but they'll do.

I was in the mood to sew something the other day, but mentioned that I was short on fabric for our bedroom curtains. Most of the high-on-my-priority-list projects in my trusty One-Yard Wonders book require some sort of notion like buckles or rings that I didn't have on hand.

While I may not have an immediate need for picnic place mats, I did have some extra Ikea fabric and a desire to get in a little practice. So, I whipped up these cuties, which we can use just as soon as we get a patio set! And next year's warm season!

picnic place mats


They have a little pocket for silverware and a tab to hold a napkin. Once we tuck those in, we can roll them up and pack them in our picnic basket. That we also don't have. But might! One day!

picnic place mats


picnic place mats

Tuesday, August 17, 2010

My closet is for the birds.

When I went looking for the post I originally wrote when I bought what I will eventually get around to talking about, I realized I bought this lovely wall decal in January. Well, a mere seven months later, I got around to putting it up on the wall. Sort of. I put it on my closet.

vinyl wall decal, not on the wall

Isn't it pretty?

Then, I sat down to sew some curtains for our bedroom. Right now, we have to lean out and close the shutters. I realized that with the way the print flows on the fabric I have, I'll need another two yards to cover the whole window. Well, another two meters.

So, I sewed something else instead and I'll get around to putting that up here in less than seven months.

Sunday, August 08, 2010

Shameless Self Promotion

Which, really, what else is a blog for!?

My blog partner, Alicia, over on our craft blog Team Awesome has created an absolutely adorable corduroy bag and we're giving it away this week!


Hop over to Team Awesome and enter to win! You can comment, tweet or Facebook (or all three!) to enter.

Friday, August 06, 2010

I never promised you a rose garden.

Do you remember that song? It was one of my mom's favorites when I was a child. Just humming it in my head takes me to a happy place!

I'm not usually a rose person, but these bright yellow girls just begged to be brought home.

roses and a bilora bella 66

Cheeseball's New Armoire

Hoorah! Hooray! Today is a day to celebrate! I've finally finished a project that has been rolling around in my brain for at least 6 months. And it feels soooo good.

Cheeseball had a dresser that was very cute when we first got it, years ago, but had fallen into a pretty sad state of disrepair. I'm sure it could have been fixed, but with her Ikea wardrobe necessitated by the lack of built in closets in German houses, she really didn't need dresser drawers anymore. So, I wanted to transform the old dresser into an armoire for doll and barbie clothes. And with a little fabric and about a gallon of mod podge, that's exactly what I did!

doll armoire - before
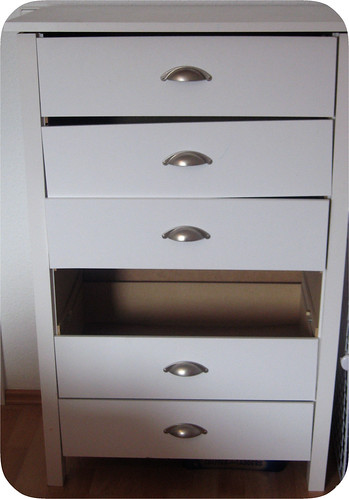
The dresser in all it's previous abused-by-a-four-year-old glory.


First, I removed all but the bottom drawer.

doll armoire - before


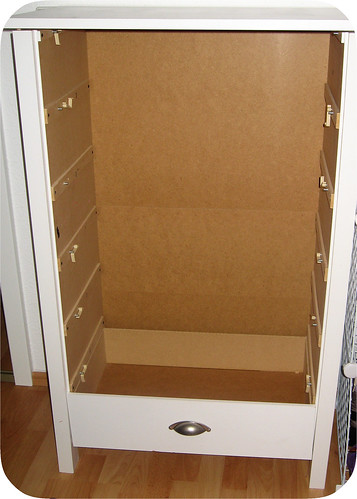
Then, I took out the hardware and removed the top of the dresser.

doll armoire - before


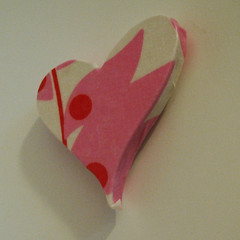
And this is where my nice, handy step by step pictures come to a screeching halt. I used mod podge to apply the fabric to the inner walls and underneath the top of the dresser. I realized that the side walls were so thin, any hanging rod hardware was going to come through the other side. So, when I had the wood for the base of the armoire (over the bottom dresser) cut, I drew some hearts on to the scrap wood and they cut those out for me as well.

hearts


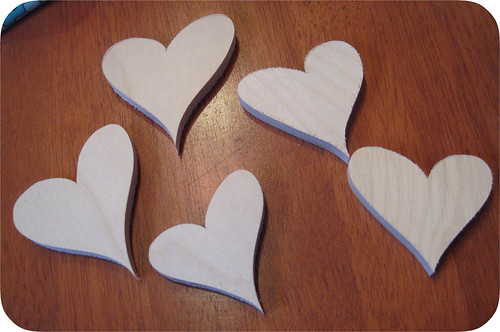
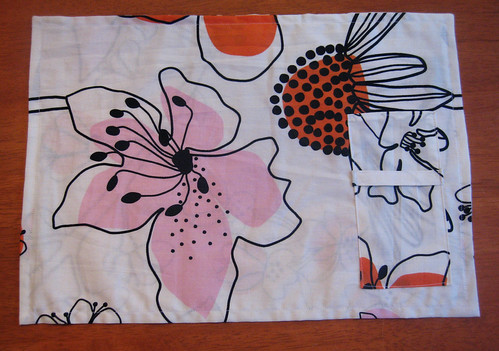
Again using mod podge, I covered the hearts with the two coordinating fabrics I had picked from Heather Bailey's completely lovely Nicey Jane collection. Then, while hanging the Ikea Deka curtain rods, screwed through the side walls and right in to the wood hearts.

doll armoire


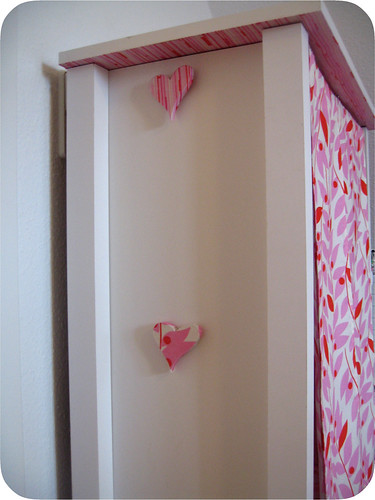
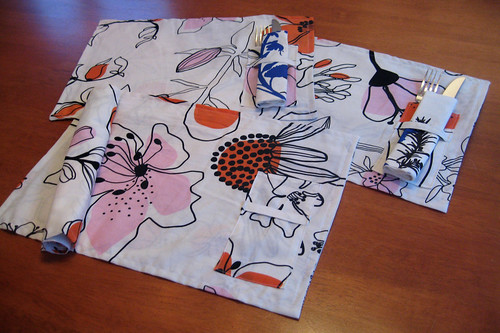
The last step was sewing the curtains. And voila!
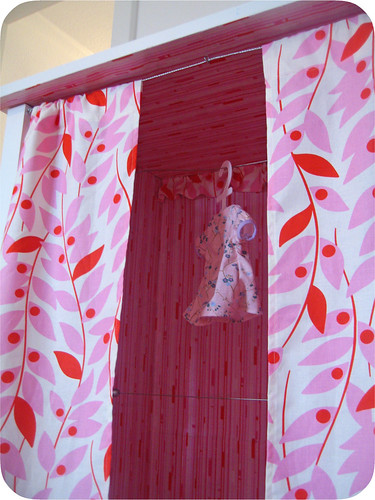
doll armoire


doll armoire
Peeking in.


doll armoire


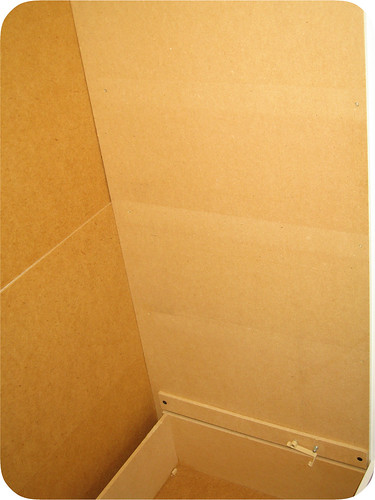
Unfortunately, the back of the dresser is multi piece, very thin and only connected on the extreme sides. I should have reinforced that somehow before applying the fabric, because you can see some pockets where the fabric meets nothing. I'm a little bummed about this.

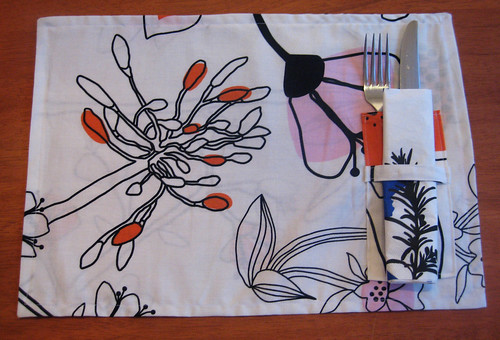
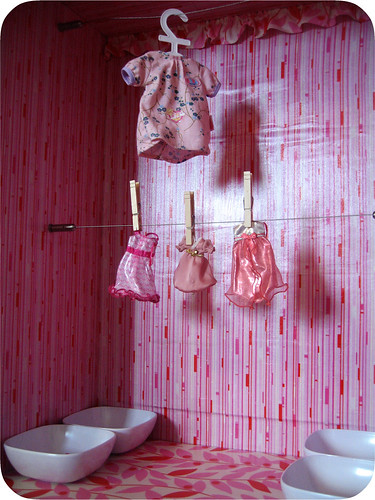
We're using big clothespins right now. But, my friend Alicia was kind enough to pick up some mini clothespins for me because I can't find them here or anywhere online that will ship to an APO. When those get here, I plan to cover them in washi tape and then they'll be perfect for a teeny tiny doll armoire.

We're also using cereal bowls to corral Barbie shoes, doll shoes, Barbie purses, etc... But, maybe future renovations will effect a solution for those as well.

Cheeseball and I are both so pleased with how this came out! I'm discovering a great love for upcycling and transforming and this was the perfect candidate to make new.

Thursday, August 05, 2010

Coming soon to a Sushi near you.

Just a little sneak peek of something I've been working very hard on that I hope will be done and ready to share tomorrow!

sneak peek

Tuesday, August 03, 2010

Making Allowances

El Niño and Cheeseball have been earning a regular weekly allowance for a while now. We follow the pretty common $1 per year of life formula, and it's worked out well for us. As a general rule, we'll buy whatever books and craft supplies they might want, but we don't buy toys outside of birthdays and Christmas, so they really look forward to their allowances.

Having moved to Europe, the allowance situation has gotten a little more complicated. In America, we'd just give them their dollars in cash every week. But, in Germany, they need dollars to spend on post - where the game cartridges work in their players, the instructions come in English and their favorite things (namely Legos and Barbies) can be found in abundance. But, they need euros to spend off post - where they are the majority of their time. Since they have to buy their own toys, trading off weeks in dollars and euros would make it take twice as long to save up for anything specific they want. And, Mom has a hard enough time keeping dollar and euro cash separate and organized, they don't need to have to maintain two wallets!

So, we've moved to an overly complicated Excel spreadsheet factoring current exchange rates, allowance payments and money spent to come up with a constant balance in both dollars and euros. Which is very handy! Except when you're at a store and the kids want to know how much money they have and you forgot to pull up the spreadsheet before you left.

So! I created two balance books for them. We'll copy the balances in as they are updated, and the kiddos will be responsible for keeping track of the books.

allowance balance books


I'm not posting a printable, as it's unlikely many people will need separate dollar and euro columns in balance books for their own kids! But, a simple table with dates and balances are all you need if you want to create a similar system for you and yours. Design a cardstock or heavy paper cover, fold it all in half and staple at the center!

Monday, August 02, 2010

Mini Memory Games

When I saw this adorable tutorial by dandee, I knew I had to make some mini memory games up for the kiddos.

Since I don't have access to the normal craft stores here in Germany and couldn't get my hands on the little tins she used, I sewed up some very simple drawstring bags to hold the games.

memory game


I started with vintage animal clipart from the Graphics Fairy, which I made into colorful silhouettes in Photoshop.

memory game


And used a retro graphic paper for the backs.

memory game


Then, I remembered some adorable doodles done by Joel over at Made By Joel for a matching game. (Are you reading Made By Joel? You should be, the toys he makes for his kids are wonderful!)

memory game


And used a black and white polka dot for the backs.

memory game


The kids are having a blast with their new games! And, they're the perfect size to toss in your purse and have at the ready when waiting for service at a restaurant or whenever some waiting time pops up!

If you'd like to make your own, you can hop over to dandee for the tutorial, and download the pictures I used here.